If you’re looking for an interesting adventure when it comes to finishing interior woodwork and furniture, then a process called “pickling” or “white washing” is definitely worth a look.
White washing is all about applying what amounts to watered down paint to a wood surface. The more opaque the paint is, the less wood grain and texture shows through the white washing process. The more watery the paint, the more woodgrain colour and texture remains visible.
Dialing in the correct amount of opacity is where the artistry of white washing comes in, and I’ve found four tips essential for success.
Tip #1: Always create test samples
When it comes to white washing, there are more variables than with regular wood finishing. This is why it’s essential to create test samples before trying to white wash any kind of woodwork that matters. You don’t want any surprises.
In fact, I’ve never had a white washing process that didn’t benefit from the mistakes I made with test samples. Always use the same kind of wood that’s used for your completed project and sand the surface of your samples the same way you’re sanding your finished materials.
Are you planning to white wash a light-coloured wood such as pine or spruce? You’ll get much better results if you stain the wood a darker colour before the white washing treatment goes on.
Tip #2: Be ready to adjust the dilution
Does too much wood grain show through? That means your white washing paint is too thin. This is not unusual if you’ve diluted some old latex house paint for the job and perhaps over-did it.
While you can add more undiluted paint to a white wash mixture you make yourself, applying multiple coats will boost the colour and opacity, too. Just make sure each previous coat is dry before applying the next. The colour won’t build unless the underlying coat is dry first.
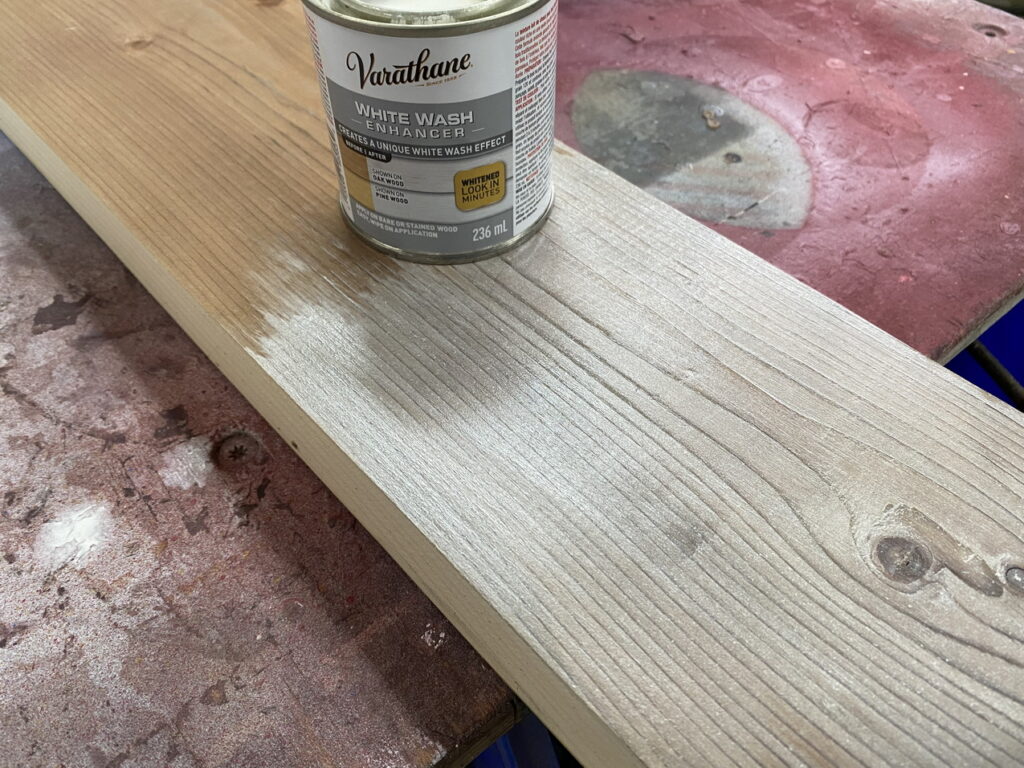
If you’re looking to get into white washing as simply as possible, consider a ready-to-use product instead of diluting white house paint. Varathane White Wash Enhancer is my current favourite of the ready-to-use options. I find two or three coats creates the ideal effect.
Tip #3: Stock up on wipes
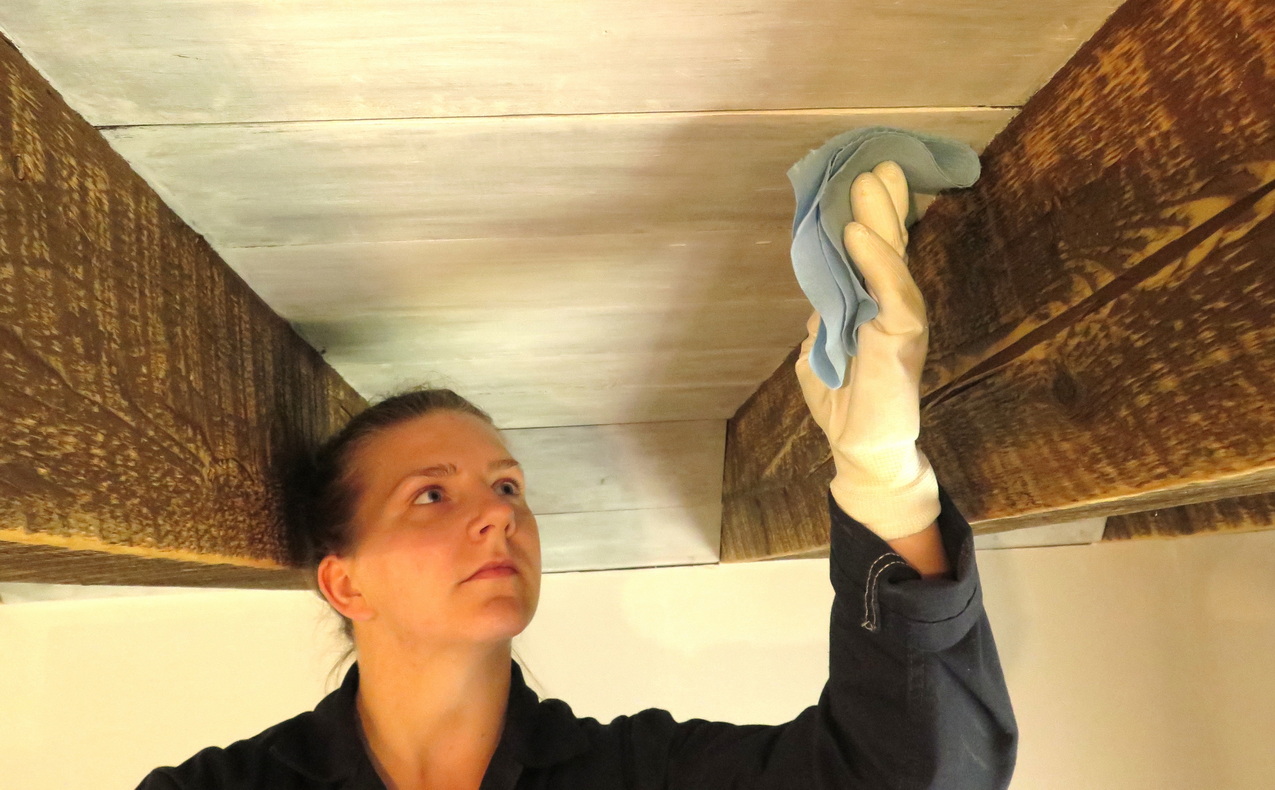
As you’ll discover, the real artistry of white washing comes down to the wiping. Get the white wash on the wood any way you can (brush is my favourite), but it won’t look very good at this stage. Great appearance only starts to show up after most of the excess white washing liquid gets removed, and this is what wiping is all about.
I use blue paper shop towels for wiping down white washed surfaces. Old cloth rags will work, but most people don’t have enough of them. Besides, many types of cloths give off lint.
As you work, begin with a dry shop towel. At first this will be quite dry and absorbent, so it doesn’t take much wiping pressure to remove excess liquid. As your towel gets more saturated, you’ll need to apply more pressure to clean the surface.
Tip #4: Consider a top coat
Protecting your white washed surface may or may not make sense. If it’s on a ceiling or high up on walls, then no additional protection is needed. But if you’ve white washed furniture or cabinets, then protection is wise. It doesn’t take much. A single coat of low-sheen urethane does a great job and won’t change the look of your white washed surfaces.
As beautiful as wood is, it’s entirely possible to have too much wood grain visible in a room. White washing is all about letting some wood grain show through in moderation.